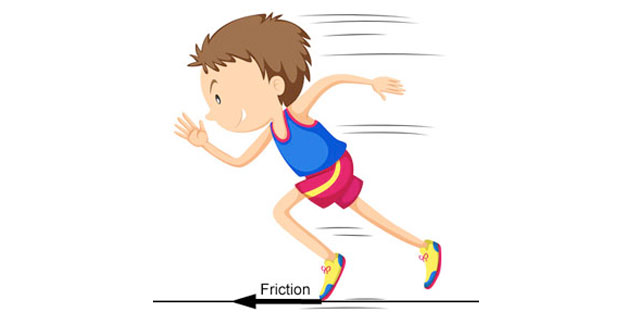
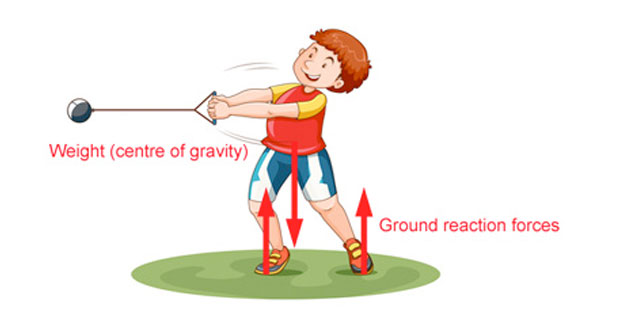
Free body diagrams are used to show which forces are acting on a body at a particular instant in time. Arrows indicate the position, direction, and size of the force acting. The most likely forces acting on an athlete are friction, air resistance, weight and reaction forces.
How to draw a free body diagram
Let’s use the example of a rugby player. They play fly-half and have just taken possession of the ball from a stationary position and, instead of passing it out to his teammates, they’ve decided to go for glory themselves. Let’s follow these simple steps to identify the forces acting on them:
1. Draw on the weight force (acceleration due to gravity x their mass). Weight will always be acting and will always point straight down from the centre of mass, which for a rugby player is somewhere near their tummy.

2. Next, the reaction forces where two bodies are in contact. In our example, the player is in contact with the ground (we are just considering the player for now, not the ball as well). As both feet appear to be in contact with the ground we draw vertical arrows for both feet.

3. Now let’s think about the horizontal forces. Friction will be acting sideways on the feet to stop the player slipping over.

4. Finally, air resistance can be added. However, for our example, it is a still day with no wind and our player is not yet moving fast enough for wind resistance to be relevant.


